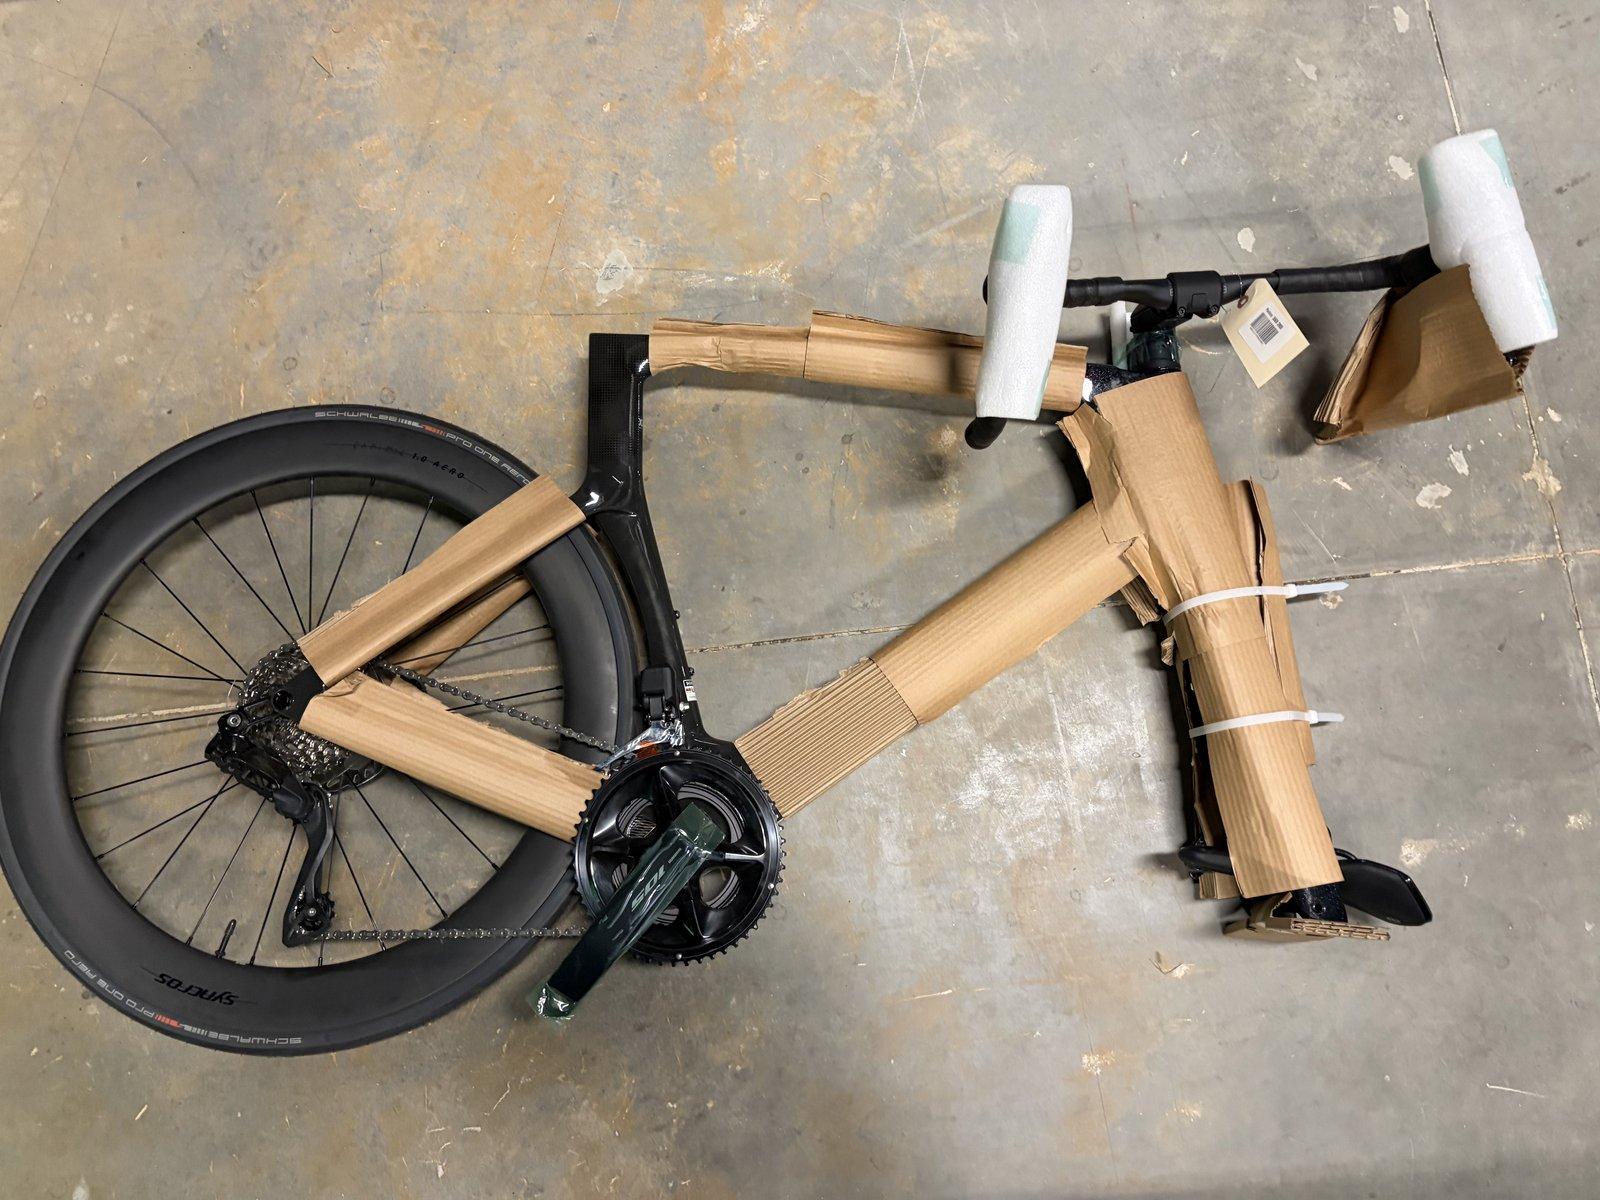
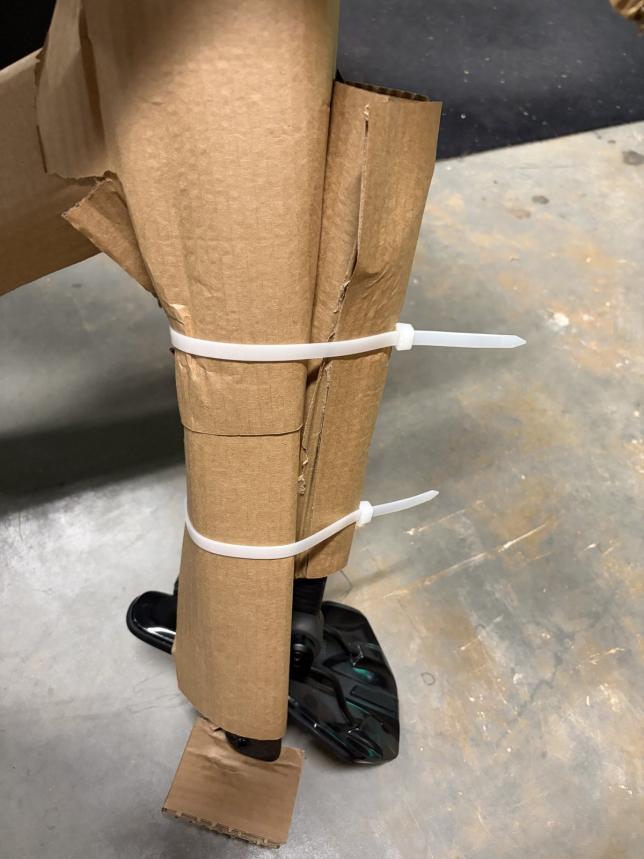
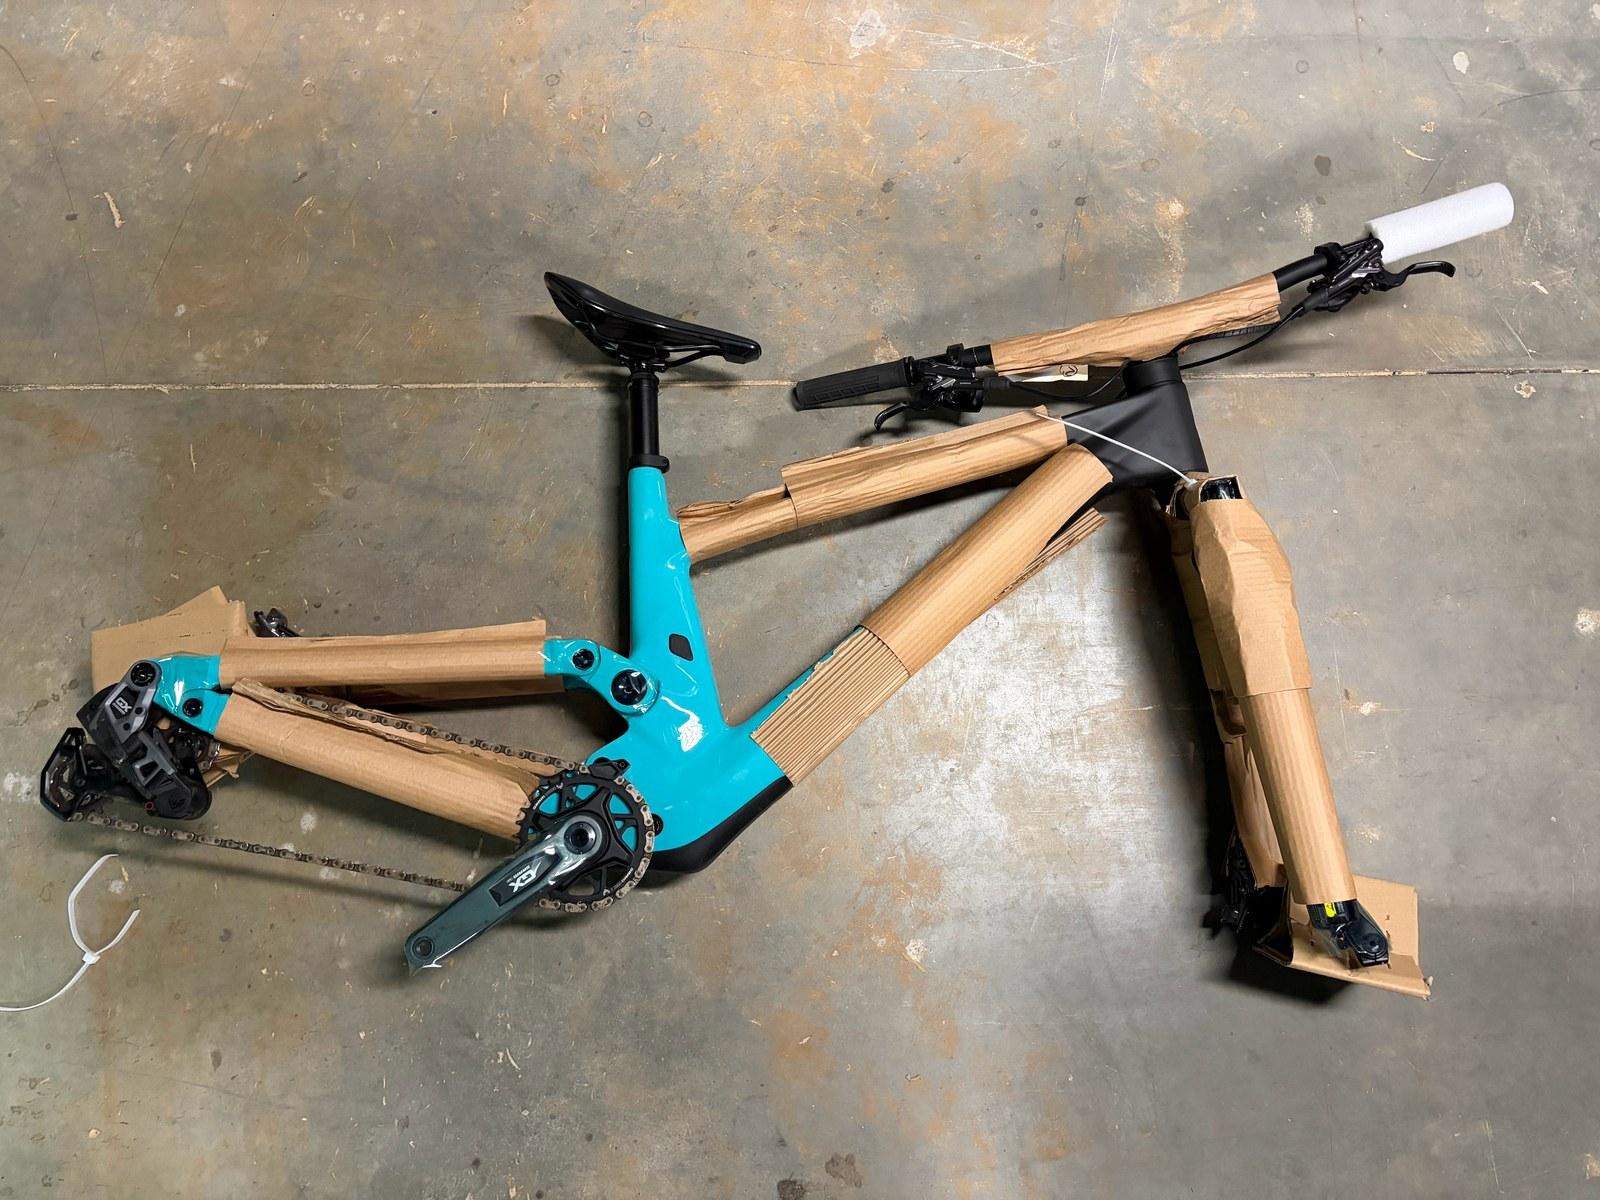
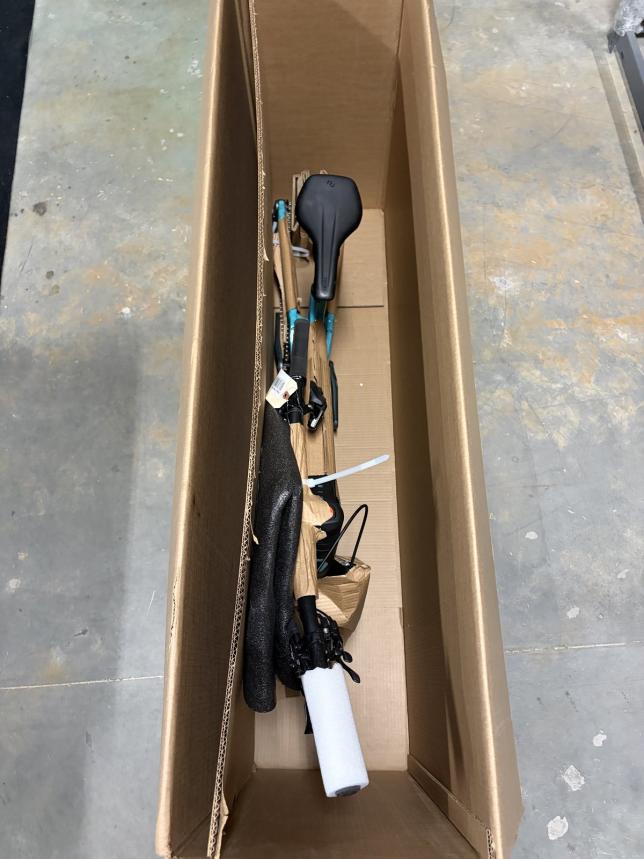
Wrap the following tubes: top tube, down tube, seat tube, fork blades, chainstays, seatstays. (fig. 4)
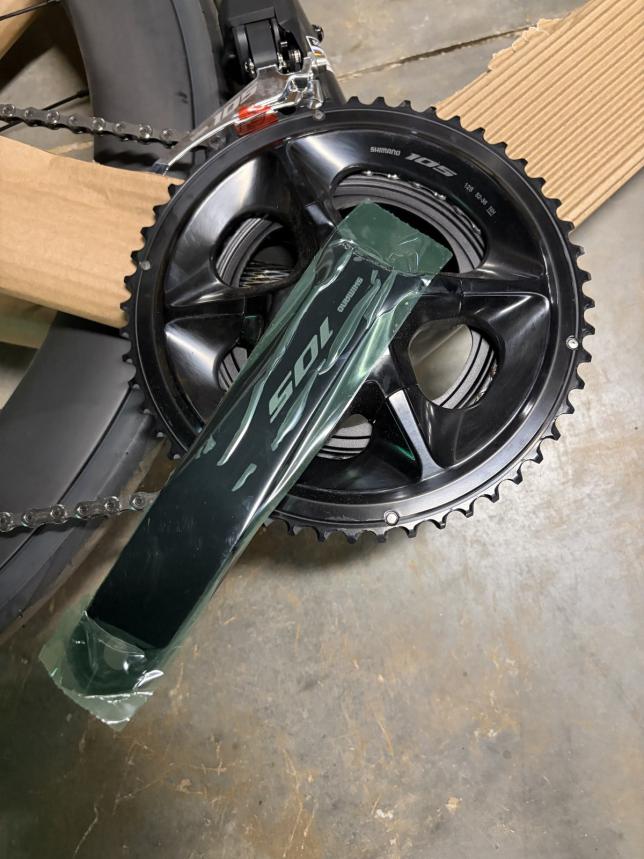
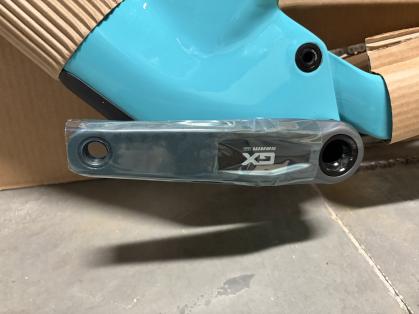
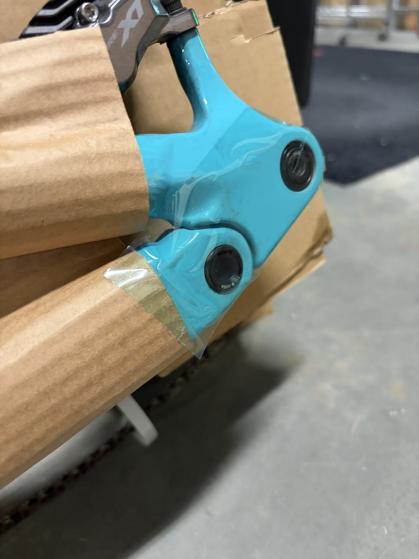
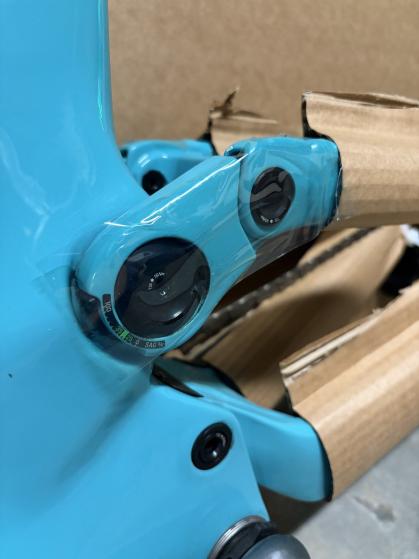
Tape any areas that will rub. (fig. 5–6)
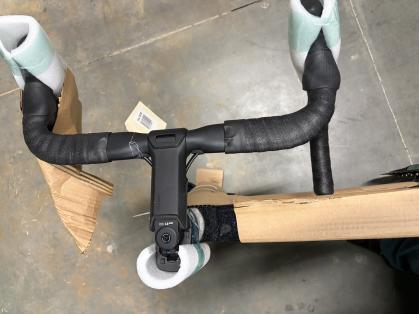
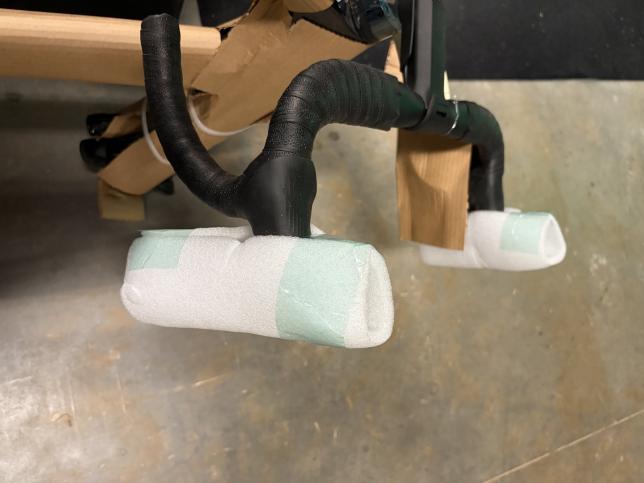
Use foam tubing on handlebar shifters and head tube. (fig. 7)
Place seat post in-between fork and tape or zip tie. (fig. 8)
Fig. 4 — wrap main tubes
Fig. 5 — tape pointFig. 6 — tape pointFig. 7 — foam tubingFig. 8 — seat post at fork
Step 3Place bike in box
Lower bike into box.
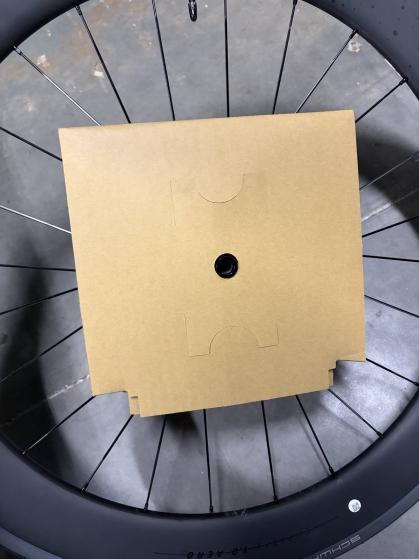
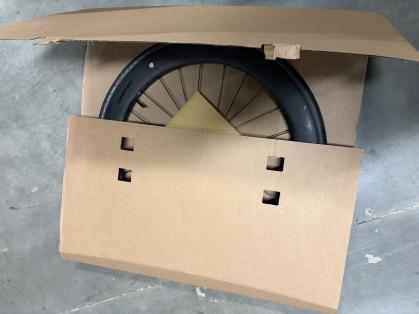
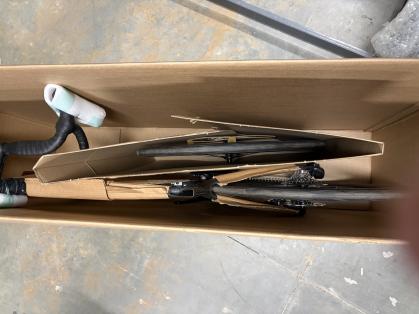
Place wheel alongside bike. (fig. 9)
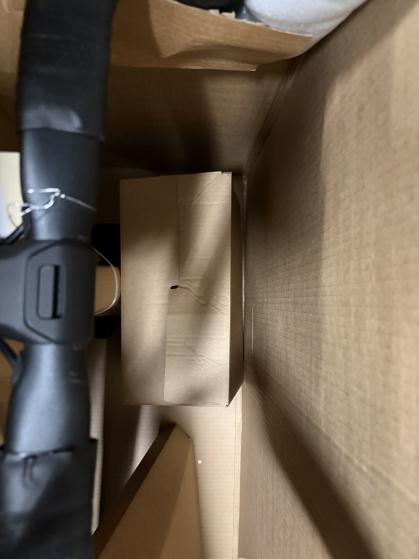
Insert small parts box on bottom of box and tape in place. (fig. 10)
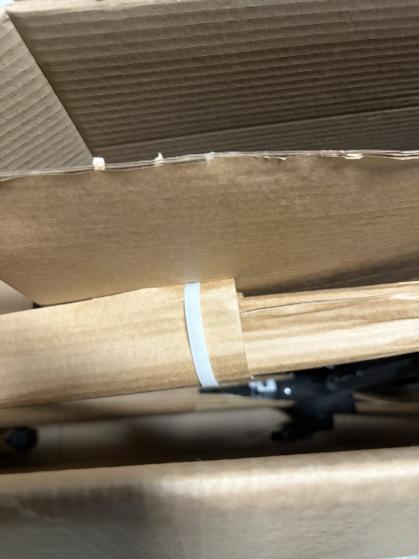
Zip tie wheel box onto bike frame. (fig. 11)
Fig. 9 — wheel alongsideFig. 10 — small parts boxFig. 11 — zip tie wheel box
Step 4Examine
Make sure nothing is rubbing.
If needed, use additional packing material (packing pillows, cardboard paper filler, etc.) to compensate for dead space and prevent the bike from shifting inside the box.
<
Mountain Bike Packaging
Complete steps 1–5 in order before sealing the box.
Step 1Remove both wheels
Unscrew thru-axle or quick release on both wheels.
Remove both wheels.
Install fork spacer and rear triangle spacer. (fig. 12)
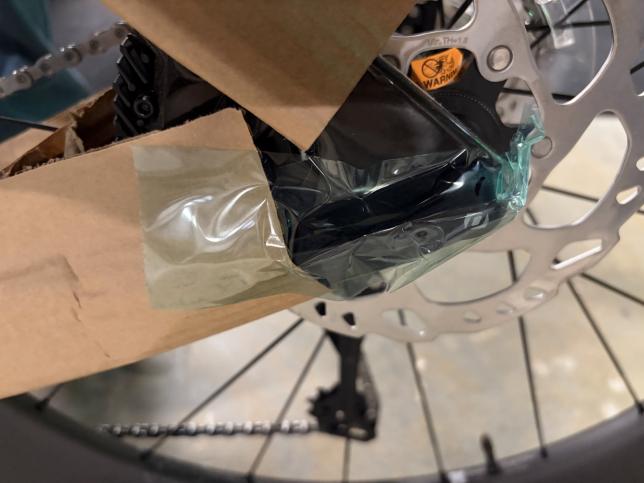
Install brake spacers in both brakes.
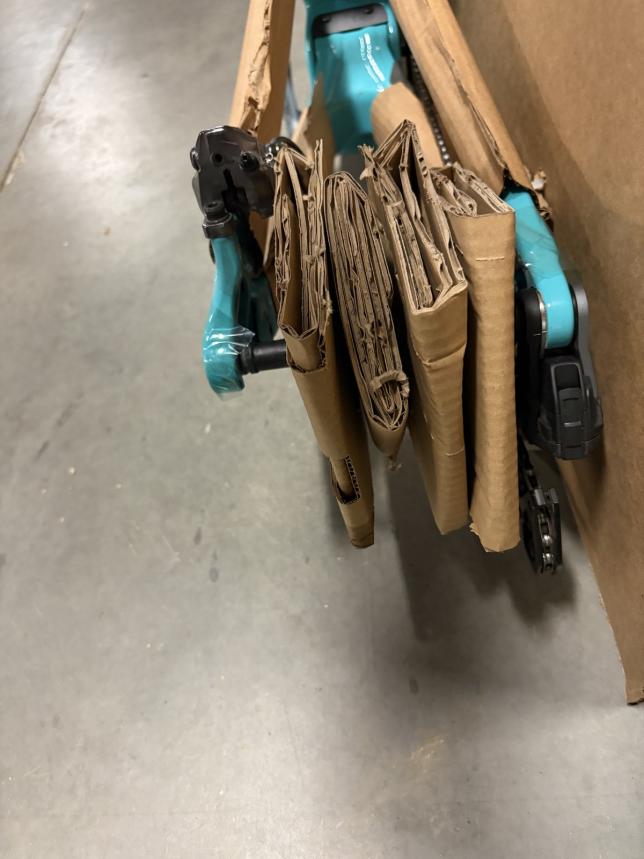
Protect the brake rotors with cardboard. (fig. 13)
Unscrew top cap and turn bars 90° to the right, then tighten bars.
Fig. 12 — spacersFig. 13 — protect rotors
Step 2Protect the frame
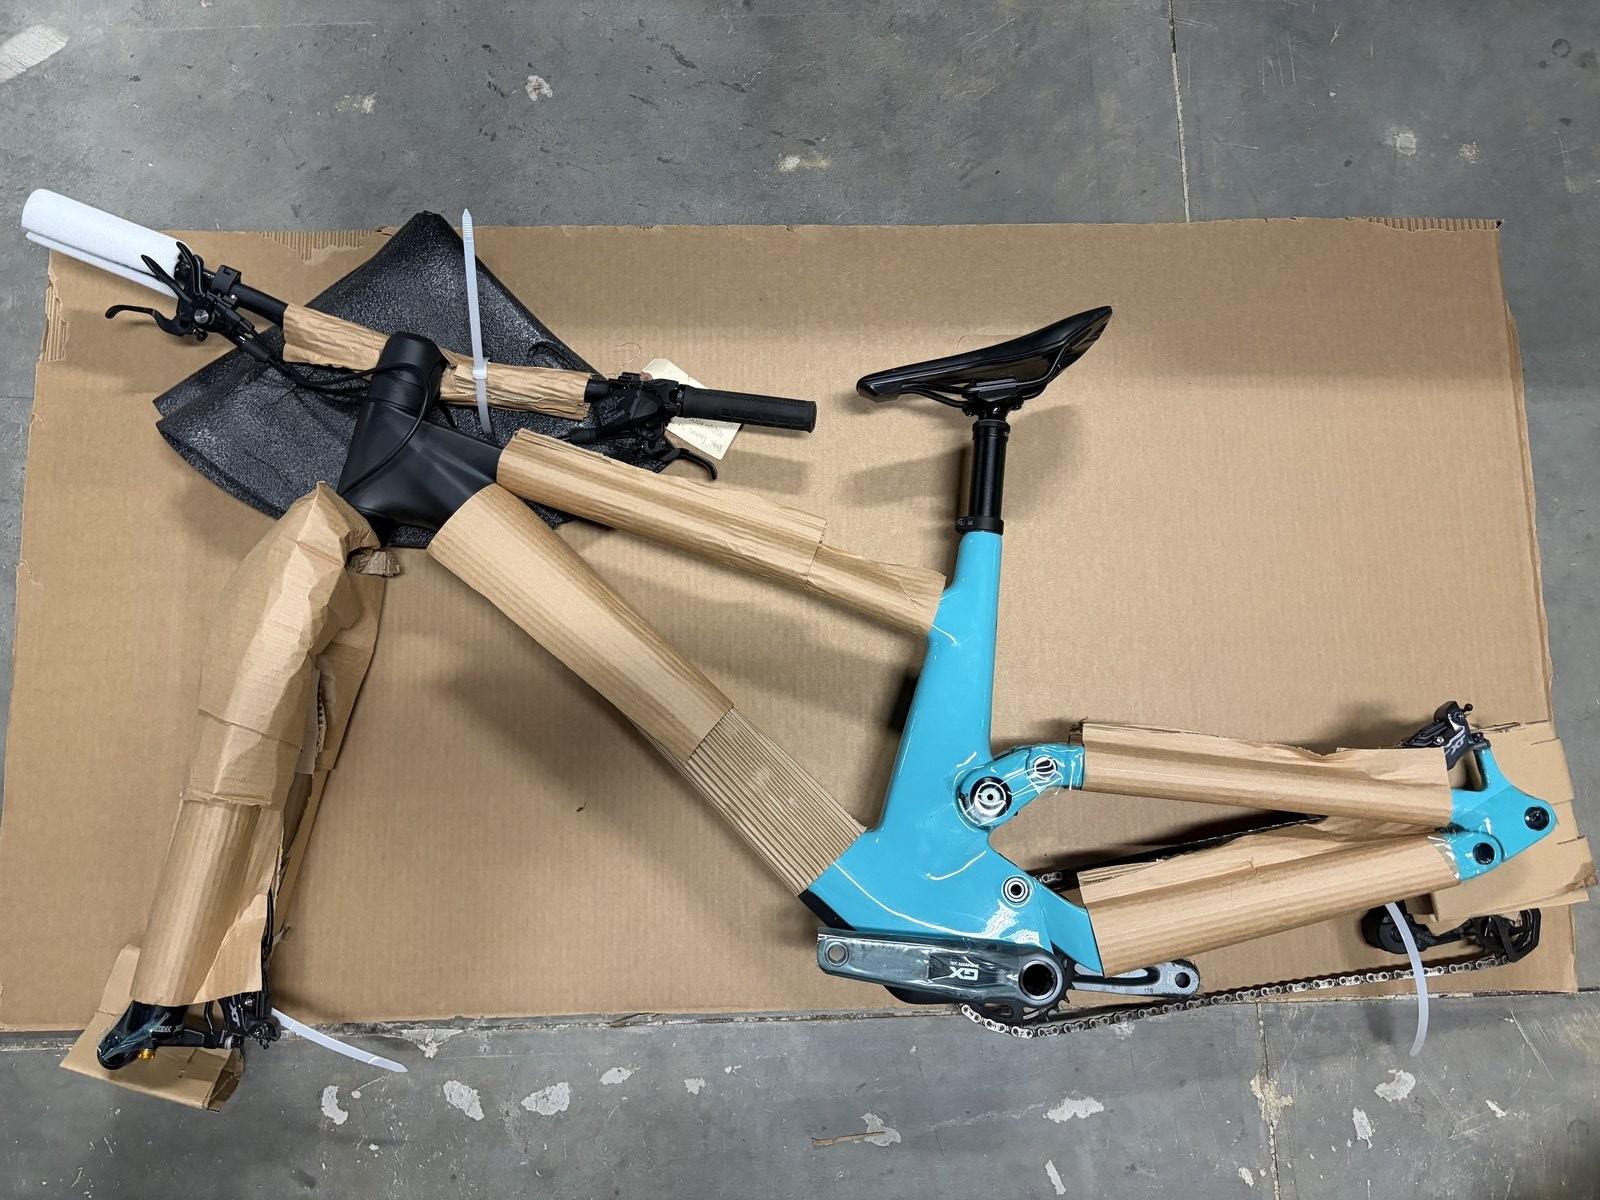
Wrap the following tubes: top tube, down tube, seat tube, fork blades, chainstays, seatstays. (fig. 14)
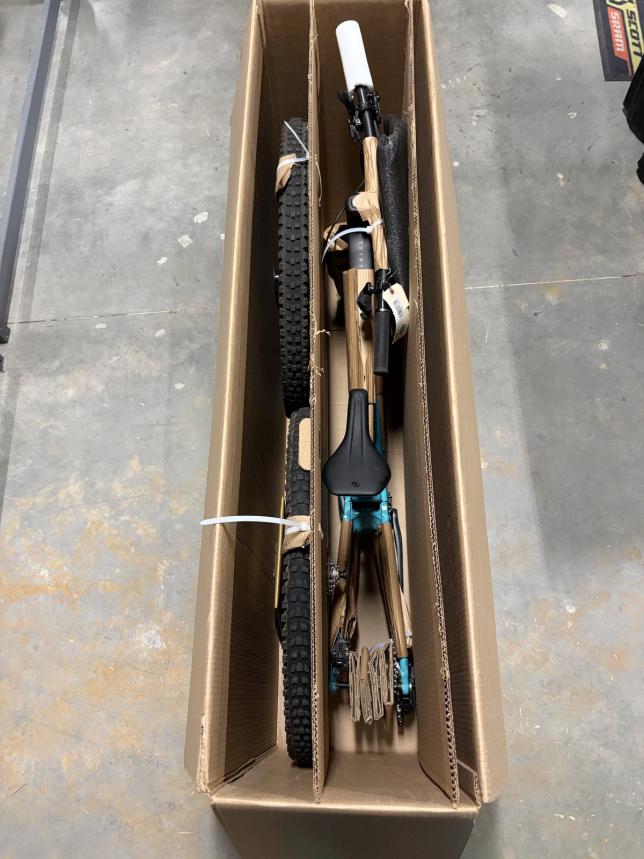
Place bike on one divider with bars facing down on the divider, with foam between the divider and handlebar. (fig. 18)
Zip tie the following parts onto the divider: rear chainstay, fork, handlebar.
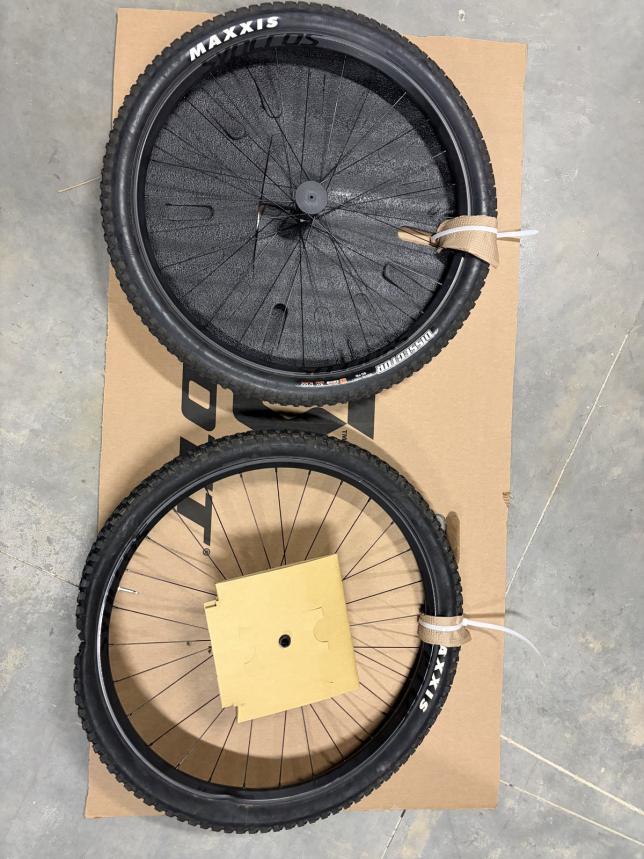
Place both wheels side-by-side against the second divider.
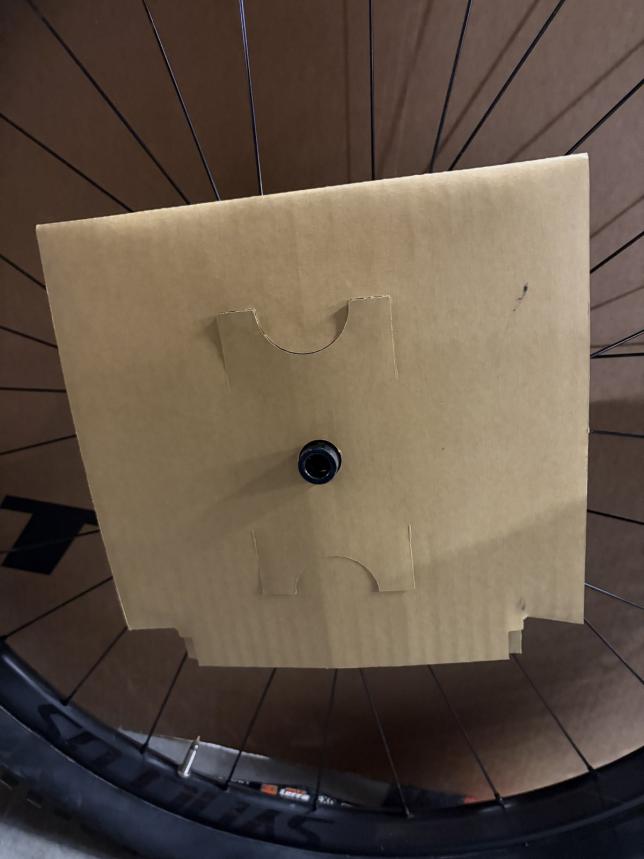
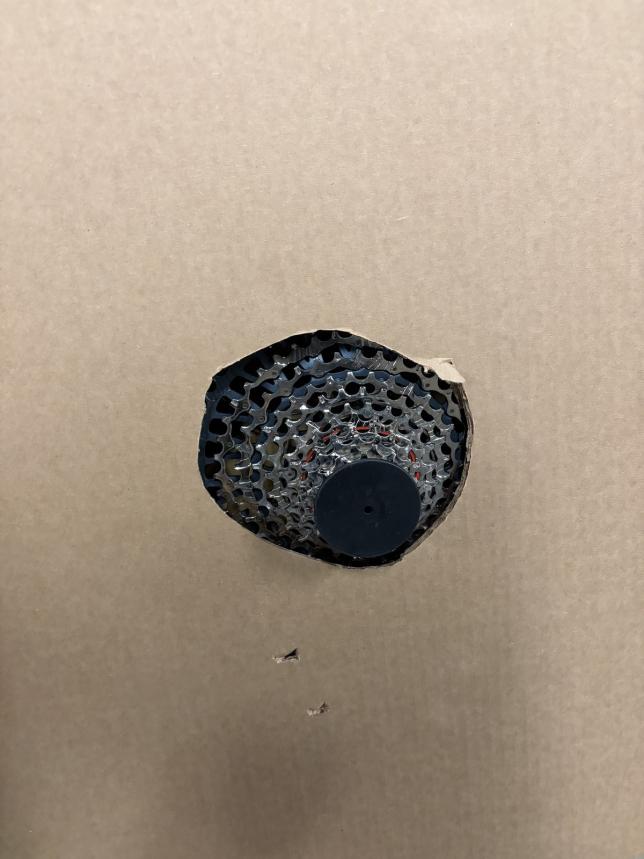
Make sure the cassette faces the divider and cut a hole to match the cassette size. (fig. 19)
Zip tie both wheels to the divider at the top of the tire. (fig. 20)
Fig. 18 — bars down on divider
Fig. 19 — cassette holeFig. 20 — zip tie at tire
Step 4Place bike in box
Lower the bike frame (attached to the first divider) into the box, with the frame facing the middle of the box. (fig. 21)
Install the second divider into the box: rear wheel toward the rear of the bike with the cassette in the divider hole, front wheel toward the front of the bike. (fig. 22)
Put the small parts box on the bottom of the box and tape in place.
Fig. 21 — lower frame into boxFig. 22 — install second divider
Step 5Examine
Make sure nothing is rubbing.
If needed, use additional packing material (packing pillows, cardboard paper filler, etc.) to compensate for dead space and prevent the bike from shifting inside the box.